
Variometer Display
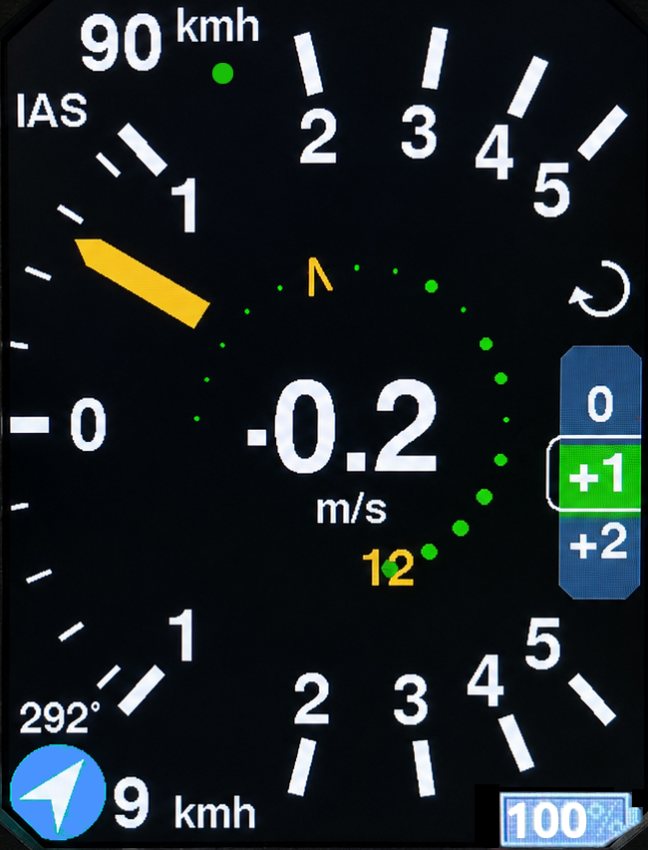
The XCVario Pur variometer retains the familiar round-instrument style, providing a clear and intuitive representation of climb and sink rates. It offers three primary display modes—Gross, Net, and Super-Net—which take polar sink into account differently depending on flight conditions. Gross mode, normally used while circling, shows actual climb, while Net mode incorporates the polar sink into the pointer for more accurate cruising information and Super-Net mode additionally adjusts for polar sink of circling flight, predicting effective climb regardless of current speed.
The central part of the display shows the integrated climb (last 20 seconds) in the selected units, and optionally, the smart flap assistant can be displayed based on current airspeed for flap type gliders. Speed-to-fly guidance is visualized using colored bars, indicating whether to fly faster or slower. The MacCready (MC) value is shown prominently, making it easy to read at a glance.
The XCVario Pur is configurable. Pilots can adjust the variometer range (3-7 m/s), units (metric or imperial), and display scaling (linear or logarithmic). Additional information includes average climb trends, visualized with a dot indicating improvement (green) or deterioration (red), wind direction and speed, altimeter readings (full resolution or quantized to 10 m), and temperature.
Mean Climb
The mean climb is represented as a colored dot within the variometer scale, which moves up or down according to the current climb rate. Climb values that are too low—such as periods spent searching for thermals—are excluded from the core climb calculation. This ensures that the mean climb reflects the most relevant performance and provides the best possible suggestion for the MacCready value.
Left upper corner
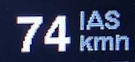
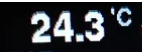
The left upper corner on display can be configured to various values such as IAS, TAS, GND Speed, Speed2Fly, Mc Value, Net Vario, OAT, Heading, Slip Angle, or been disabled at all. Above you see an example for IAS and OAT.
Left lower Corner
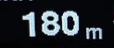

The current altitude together with the associated QNH or QFE setting is being displayed in form of a rolling tape. Altitude can be displayed in meters, feet or even flight level (FL). As an alternative there is a wind arrow indicating the direction the wind is coming from together with the speed in digital format.
Vario or Cruise Speed to Fly Indicator
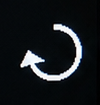

In circling mode, a circular arrow is displayed on the right side and in cruise mode the S2F command arrows are displayed. The arrows point up to indicate slower and down for faster cruise speed. If the deviation is more than 40 km/h, the arrows tip turns white. If the cruise speed is well in a range of +/- 10 km/h off, the middle bar turns green. The number of arrows corresponds to the speed to fly difference. The arrows can display +/-30 km/h difference, each segment stands for 10 km/h off.
Smart Flap Assistant
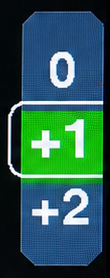
Once enabled, on the right side of the display you see the smart flap assistant, giving recommendations to positioning the flaps. Optimum flap positioning is achieved when the moving green speed band overlaps with the middle section. The flap level displayed in the middle is either the level read from the flap sensor, or the recommended optimal setting, in case there is no flap sensor.
If the lever position deviates from the optimal flap position, the green speed band moves beyond the middle section. There is also an optional accustic sound overlay that indicates the moment of a flap setting change.
The associated optimal speeds come with to the polar selected and might need adjustment to represent your specific glider plane type. The display must be activated in the setup under “Screens & Gauges”, the flap sensor under “Hardware & Sensors”.
Battery Indicator
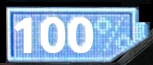
The battery indicator, once enabled, shows on the right lower corner the charge status of the battery in the form of a symbol in different colors. The exact value in percent is also displayed. When the battery is running low, the color changes from gray to yellow, then red. In addition, the red all empty battery indication does flash.
The corresponding voltages are preset for a lead-acid battery and can be modified in the setup.


