
XCVario Pur – Operation Overview
The operation of the XCVario Pur is simple, intuitive, and optimized for both beginners and advanced pilots. Control is primarily via the rotary knob with integrated push function, complemented by an optional additional switch or button (configurable) for Vario or speed command mode, and the main on-off switch. The following description refers to the default configuration; all rotary functions can be customized during setup (see Setup chapter).
Switching On and Initial Setup
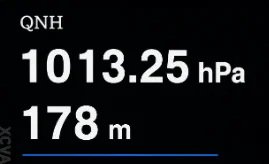
- After switching on (still on ground), first set the QNH with the rotary knob. Set the airfield elevation will skip this step and the QNH will be set automatically. Then press the rotary knob to start the variometer display screen
- Rotate the knob to the left to decrease volume, or to the right to increase it.
Accessing Menus and Settings
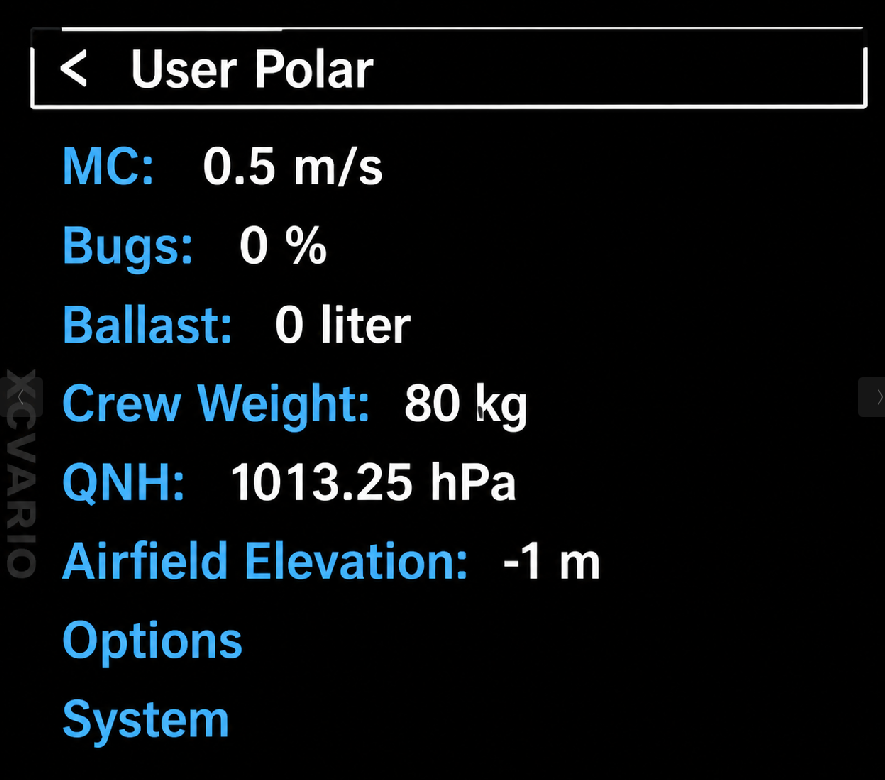
- Pressing the rotary knob once advances the screen through the list of available screens. As a minimum XCVario provides the variometer and the setup screen. A long-button-press always and directly enters the setup menu. This is the place where parameters such as MacCready (MC) value, water-ballast, polar, and more can be adjusted.
- The heading of the very first setup menu shows the configured glider polar type.
- Turn the rotary to scroll down or up through menu items.
- Nested menus allow you to dive deeper by pressing the rotary, the top item of each sub-menu returns you to the previous level.
- A long-button-press on a top row entry [< … ] the setup menu exits straight away. While airborn a time-out of 16 seconds will leaf the setup without any user interaction.
Adjusting and Saving Values
- Almost all setup items include integrated help texts for quick guidance, even for new users.
- Turn left to decrease and right to increase any configuration value.
- Confirm and save a value with a simple push; the device will acknowledge with “save” and return to the previous screen or dialog.
- Certain parameters, such as the MC value, return directly to the variometer display after setting, eliminating the need to press additional buttons.


